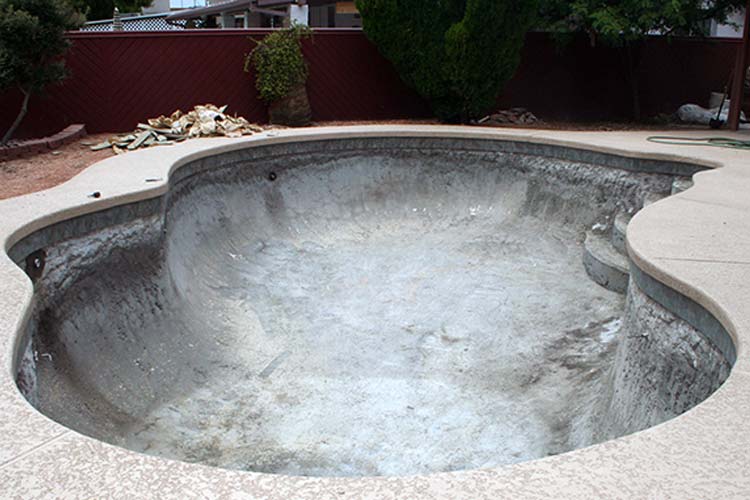
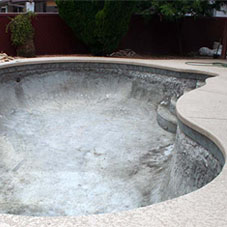
There are many reasons why people want to fill in their existing pool. It may be because it is no longer utilized, high maintenance cost to up keep, becoming dangerous with new additions to the family or simply just a change in scenery. No matter what your reason is, the important thing is to find a reputable company to get the job done right. Here are the basic steps to backfilling a swimming pool. Note that the size, type and accessibility of the pool will be factors that determines the cost and exact procedures required for the project.
Step 1: Preparation work – Laying of Plywood, Removal of Gates and Gas Lines
Plywood is laid down leading up to the pool to prevent any lawn damage. If required, gates are removed and will be reattached upon completion of the project. Gas lines leading from the gas meter to the pool pump will be removed and capped.
Step 2: Pool Drainage
If the pool is still filled with water, an electric pump is used to pump out the water and drained into the city sewer. Holes approximately 6’ x 6’ are punched, one in the deep end and one in the shallow end for proper drainage. Concrete swimming pools require the sides to be broken around 2 feet below ground level while vinyl liners will be cut out, removed and disposed of.
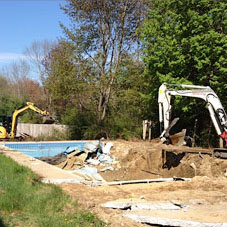
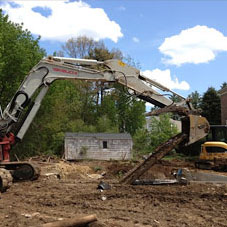
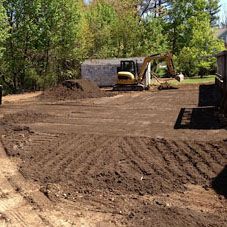
Step 3: Pool Fill In
Dump trucks carrying contaminant free, high quality, clean fill top soil which minimizes sinking is delivered and placed on the road. Skid steers or front end loaders are used to transport the soil from the road to the location of the pool. Markstone’s state of the art equipment is used to fill the swimming pool with soil which gets compacted throughout the process to mitigate sinking. Premium top soil is used to fill the last one-foot depth of the pool as well as the entire yard which will promote sod and plant growth.
Step 4: Final touches
Depending on the client’s request, the newly filled-in area can now be landscaped with concrete, interlock or sod. Upon completion of the landscape, a thorough clean up of the area, including removal of plywood, reinstallation of gates and any necessary work will take place.
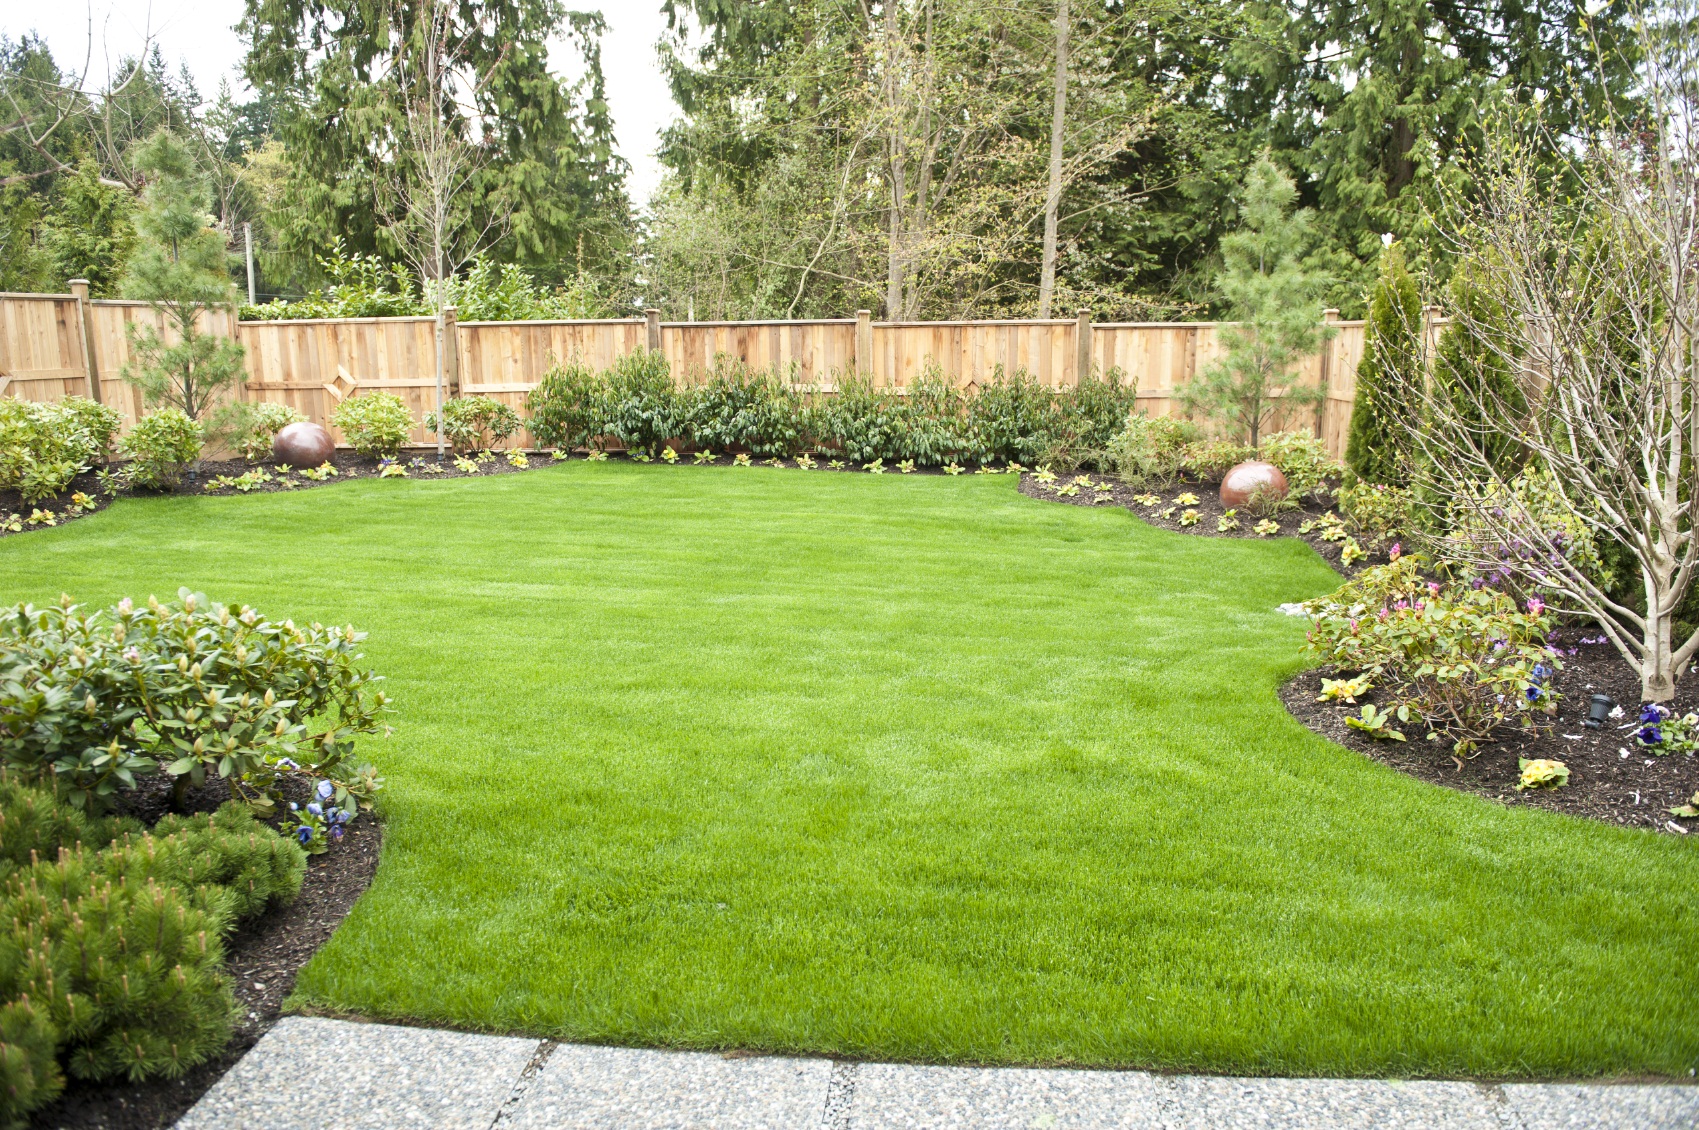
Step 5. Enjoy!
Sit back, relax and soak in the newly reclaimed backyard oasis