After a severe winter where snow, hail, freeze & thaw cycles occur all too frequently, anything left out in the cold are bound to bare an impact. To ensure your concrete and interlocking driveway in Ontario is looking its best every year, Spring driveway maintenance is recommended. Here are ways to identify problem areas that may have surfaced after a harsh winter and steps to tackle them.
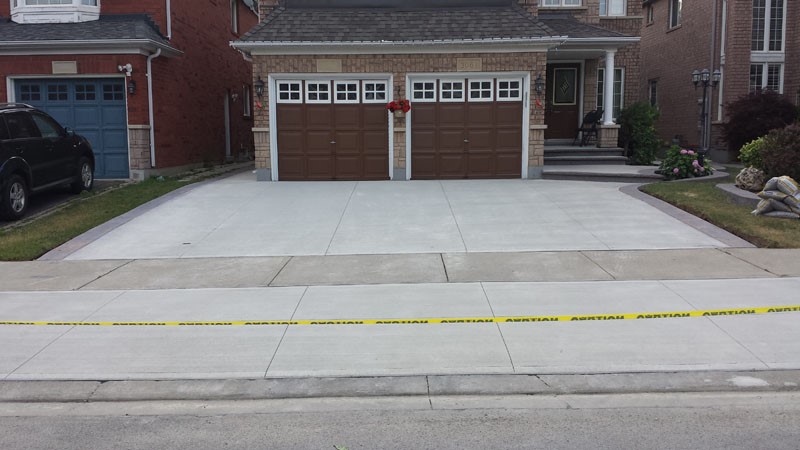
Concrete Driveway Spring Maintenance
When it comes to low maintenance and cost effective driveway options, concrete takes the reign. Asphalt may be more economical to install, however, with the maintenance it requires, the time and money spent in the long run will surpass that of concrete. With concrete’s strong composition, it makes it durable and perfect for areas that are frequently used. To ensure your concrete driveway lives up to all the benefits it has to offer, make sure it is installed by a reputable and experienced contractor. Every step of the concrete installation must be followed to code in order for your concrete driveway to look great for years to come.
The only maintenance and preventative tip for concrete driveways for spring is to power wash and (re)apply sealer to the driveway. De-icing salt may have wreak havoc to your concrete driveway causing flaking, cracking, spalling, pitting & chips. Power washing your concrete driveway will rinse off any salt residue from the winter months. Apply an epoxy coating on your concrete driveway after all salt has been removed and driveway is dry. This will prevent salted water from seeping into the concrete for subsequent winters. Make this a routine every 2 – 3 years to keep the salt water at bay. For more concrete maintenance tips, here are 5 simple tips you can do.
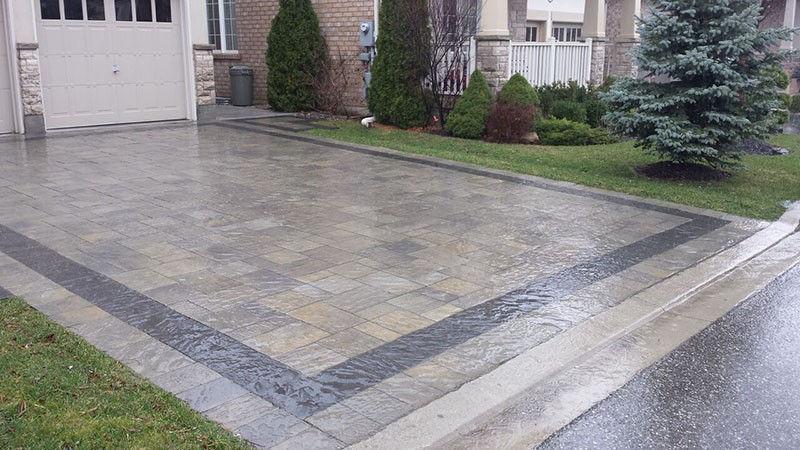
Interlock Paver Driveway Spring Maintenance
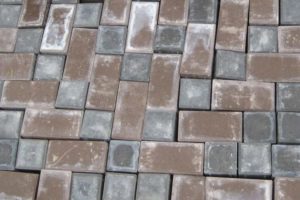
Unlike asphalt which is only offered in black, interlock pavers are versatile and can create unique driveway designs. Follow simple spring time maintenance to ensure your curb appeal is intact and fix small repairs regularly to avoid the cost of repaving your whole driveway. For interlock design ideas for your front entrance and walkway, check article Interlocking Design Ideas For Your Front Entrance and Walkways. For additional interlock maintenance tips for your home landscaping, click here. If you want to know more about this popular landscaping material, click here for a comprehensive look at interlock pavers.
Identifying problems on interlock paver driveways:
1. Sunken or shifted pavers
 Once all the snow has melted, inspect your interlock paver driveway for areas where the space between each stone is visibly larger. In addition, look for surface dips and uneven ground. Displaced pavers are usually caused by base or sub base settlement. Water may pool on top or underneath the pavers. During the colder months, it will freeze and create a slippery surface on the top or dislodge the stones further if trapped underneath.
2. Loss of sand in driveway border
Thoroughly examine the border of your driveway to look for pockets of loss gravel base and sand. The sand border ensures the driveway’s stability. During the colder months, the sand may have escaped and washed out from under the pavers.
3. Unwanted growth
Check for weed, moss or lichen growth on or between pavers. These unwanted vegetation appears if seeds make their way in-between the joints and germinate.
Interlock Paver Driveway Maintenance & Preventative Tips:
1. Reapply aggregate base to reset pavers
If pavers have shifted or sunken during the winter months, remove the paver or section of pavers that requires leveling. Add enough sand to the base so that the final surface will be level with the rest of the driveway. Compact additional sand and place paver into place. Use polymeric sand to keep pavers in place by sweeping them into the joints.
2. Replace lost driveway border material
Refill the sand border of the driveway with polymeric sand to keep your driveway stable. It is recommended to do a quick check twice a year (spring and fall) to ensure everything is in place. If required, replace any lost sand.
3. Keeping unwanted vegetation at bay
Once there is space between each paver (caused by un-stabilized sand in the joints), weed, moss or lichen will grow. The first step to a clean, clear paver driveway is to treat the unwanted growth with an appropriate weed killer. Upon confirmation of a successful termination of the weeds, use a power washer to remove the dead growth. Sweep joint sand across the pavers’ surface ensuring all space between each paver is filled liberally. Remove excess sand.
4. Power Wash & Apply Sealer
 To revive the natural beauty of interlock pavers, power washing is the most effective and economical solution. Removal of dirt, grime and weeds will instantly restore faded colors. Finish it off with a sealer and it will protect the pavers from weather elements and preserve its appearance for the next 2 to 3 years.
Performing a yearly spring driveway maintenance can help kick off a beautiful, clean, weed free driveway for the full summer. If small damages are ignored, it will turn into larger problems in the coming years which may become costly to fix.
At Markstone Landscaping, we can help you with your landscaping needs. Call us for a consultation or a free no-obligation quote. We’re here to make sure your driveway’s curb appeal is at its best for the whole summer ahead.